

How to Clean a Bottle Steriliser Properly: A Step-by-Step Guide


To clean a bottle steriliser properly, unplug and empty it, wash all the removable parts in warm soapy water, wipe down the base and lid, then descale the heating plate with a vinegar or citric acid solution every week or two. Rinse everything well and let it air-dry completely before the next use. It only takes a few minutes, and it makes a real difference – a steriliser that is never cleaned can quietly grow mould, bacteria and limescale in the very machine that is meant to keep your baby’s bottles germ-free.
At a glance: the quick clean
If you are short on time, here is the short version. Unplug the steriliser and let it cool. Tip out any leftover water. Wash the lid, trays and tongs in warm soapy water and rinse. Wipe the base and heating plate with a soft cloth. Once a week or two, run a descaling cycle with diluted white vinegar to remove limescale. Rinse, then leave everything open to air-dry.
Why cleaning your steriliser matters
It sounds counterintuitive – why clean the thing that sterilises? But the warm, damp environment inside a steriliser is exactly where mould, mildew and bacteria love to grow, especially if leftover milk residue or hard-water minerals are present. Over time, limescale from Australian tap water builds up on the heating plate, which makes the machine slower and less effective. Keeping bottles clean and properly sterilised is an important part of safe formula feeding, and Australia’s Raising Children Network recommends washing feeding equipment thoroughly before every sterilising cycle. A clean steriliser is simply doing its job properly.

What you will need
You do not need special products – just warm water, a little dishwashing liquid, a soft cloth or sponge, a small bottle brush for tight spots, and white vinegar or food-grade citric acid for descaling. Avoid harsh chemical cleaners, bleach and abrasive scourers, which can damage the plastic and leave residues you do not want near your baby’s bottles.
How to clean a bottle steriliser, step by step
1. Empty and cool down
Always unplug an electric steriliser and let it cool completely before you start. Pour out any water left in the base, as standing water is the number one cause of mould and mineral build-up.
2. Wash the removable parts
Take out the lid, bottle trays, baskets and tongs. Wash them in warm, soapy water, using a soft brush to get into crevices and around the small holes where milk residue can hide. Rinse thoroughly so no soap is left behind.
3. Wipe the base and heating plate
Use a soft, damp cloth to wipe the inside of the base, the walls and the heating plate. Never submerge the electrical base in water. A cotton bud is handy for getting into tight corners around the heating element.
4. Descale the heating element
This is the step most parents forget. Every week or two, mix equal parts white vinegar and water (or follow your machine’s instructions), pour it onto the heating plate, and leave it to sit for 15 to 20 minutes to dissolve limescale. For a full walk-through, see our dedicated guide on how to descale a steriliser.
5. Rinse and air-dry
Rinse all parts and the base with clean water to remove any vinegar smell, then leave everything open to air-dry fully. Putting a damp steriliser away with the lid on traps moisture and invites mould straight back.
How often should you clean a bottle steriliser?
Give the removable parts a quick wash every few days, or whenever you notice cloudiness or residue. Descale the heating plate every one to two weeks, and more often if you live in a hard-water area where limescale builds up quickly. A deeper clean once a week keeps everything fresh and working efficiently.
Removing mould and stubborn residue
If you spot mould, do not panic. Wipe the affected area with a cloth dipped in white vinegar or a mild detergent solution, use a cotton bud for tight spots, then wash and rinse thoroughly. Run a full descaling and sterilising cycle afterwards. If mould keeps returning, the usual culprit is storing the unit while it is still damp – always let it dry completely with the lid off. Stubborn milky residue usually lifts with a soak in warm soapy water and a gentle scrub with a bottle brush.
Does the type of steriliser change how you clean it?
The basics are the same, but there are small differences. Steam sterilisers need regular descaling because they heat water directly. UV sterilisers have no water, so there is no limescale – instead you simply wipe the interior and keep the UV lamp dust-free. Microwave sterilisers should be emptied and dried after every use. If you are weighing up which style suits you, our comparison of the UV steriliser versus steam steriliser breaks it down. And if you are still getting your routine sorted, our guide on how to sterilise baby bottles covers the essentials.
One machine that steams, blends and sterilises
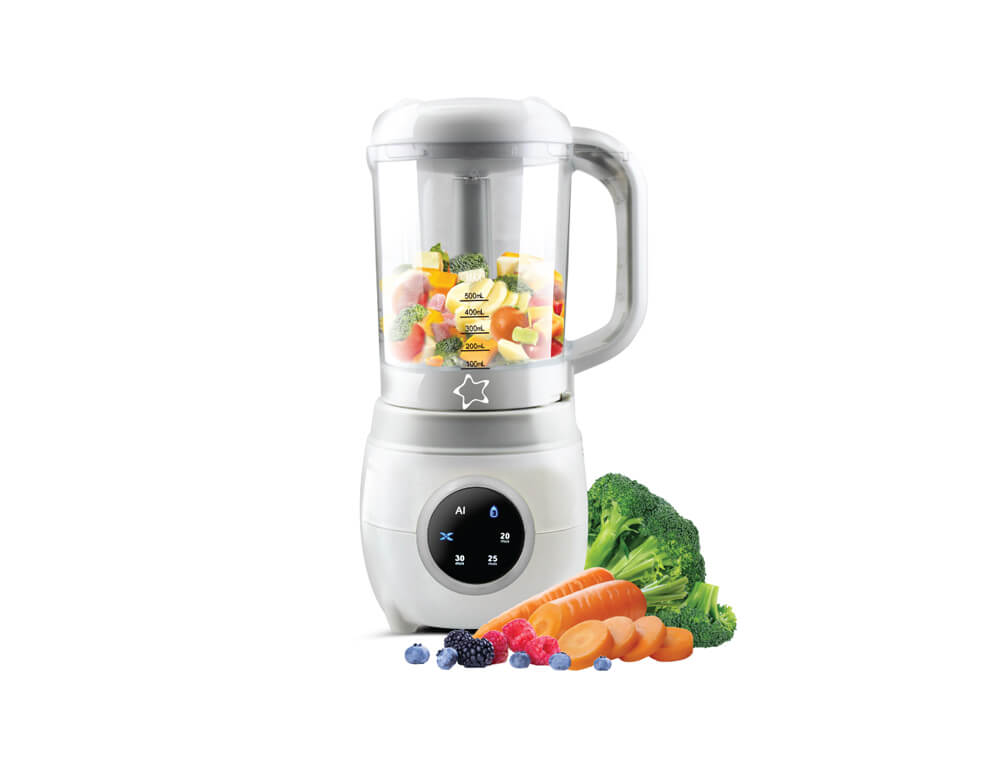
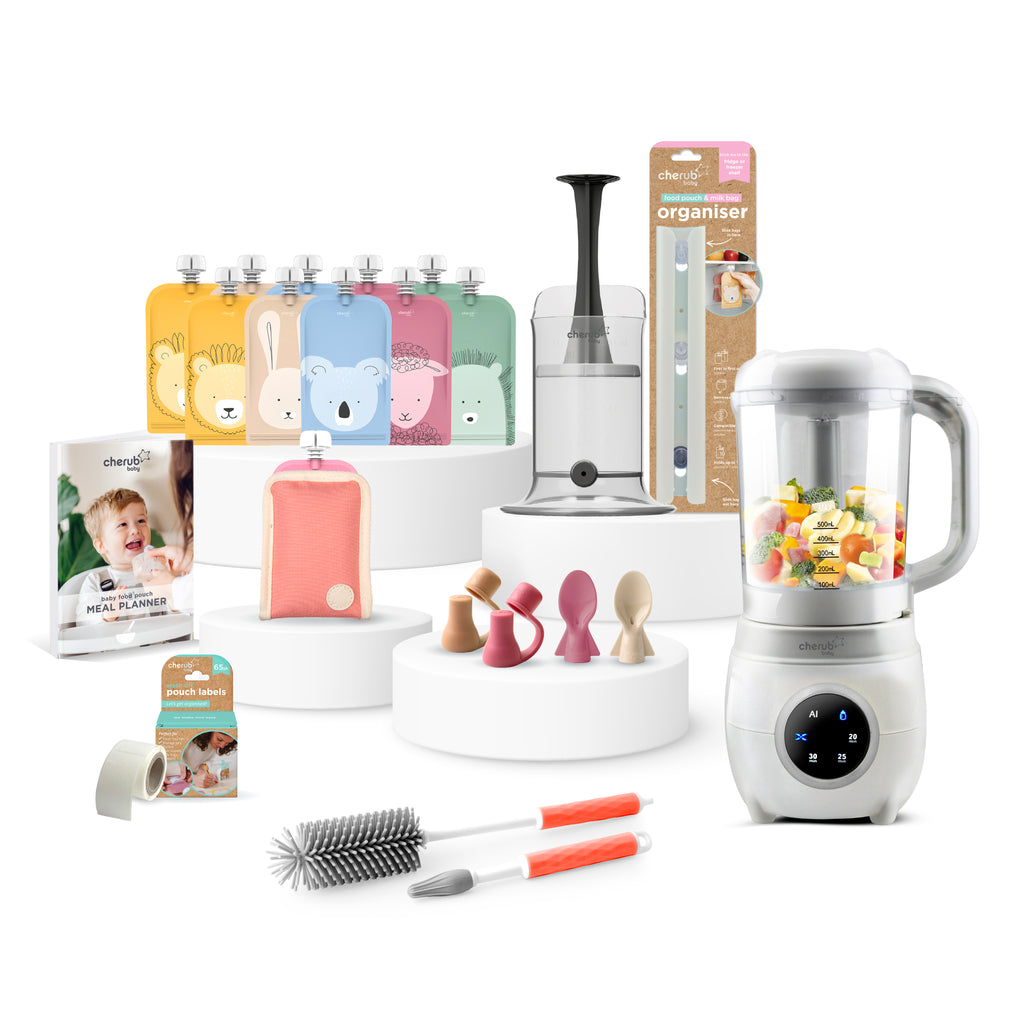
If you would rather not manage a separate steriliser, the Cherub Baby 4-in-1 Baby Food Maker & Steriliser steams, blends, warms and sterilises in one compact unit – handy when you are making purees and keeping bottles clean at the same time. It cleans down the same way: wash the removable parts, wipe the base, and descale the steam chamber regularly. Explore the baby food maker range, or browse our gift packs for new-parent bundles.
Frequently asked questions
How do you clean a bottle steriliser properly?
Unplug and empty it, wash the removable parts in warm soapy water, wipe the base and heating plate, descale the plate with diluted white vinegar every week or two, then rinse and air-dry everything fully before the next use.
How often should I descale my steriliser?
Descale the heating plate every one to two weeks, or more often in hard-water areas. Regular descaling keeps the machine heating efficiently and prevents white limescale build-up.
Can I use vinegar to clean a bottle steriliser?
Yes. Diluted white vinegar is a safe, effective way to remove limescale and freshen the heating plate. Rinse well afterwards so no vinegar smell or taste is left behind. Citric acid works well too.
Why is there mould in my steriliser?
Mould grows when the steriliser is stored while still damp or when leftover water sits in the base. Wipe away mould with vinegar, wash and rinse, then always dry the unit completely with the lid off before storing it.
Do I need to clean a steriliser if it sterilises itself?
Yes. Sterilising kills germs on your bottles, but it does not remove milk residue, limescale or mould from the machine itself. Regular cleaning keeps the steriliser hygienic and working properly.
Can I put steriliser parts in the dishwasher?
Check your model’s instructions. Many trays and lids are top-rack dishwasher safe, but the electrical base must never go in the dishwasher or be submerged in water.
Related reading


